

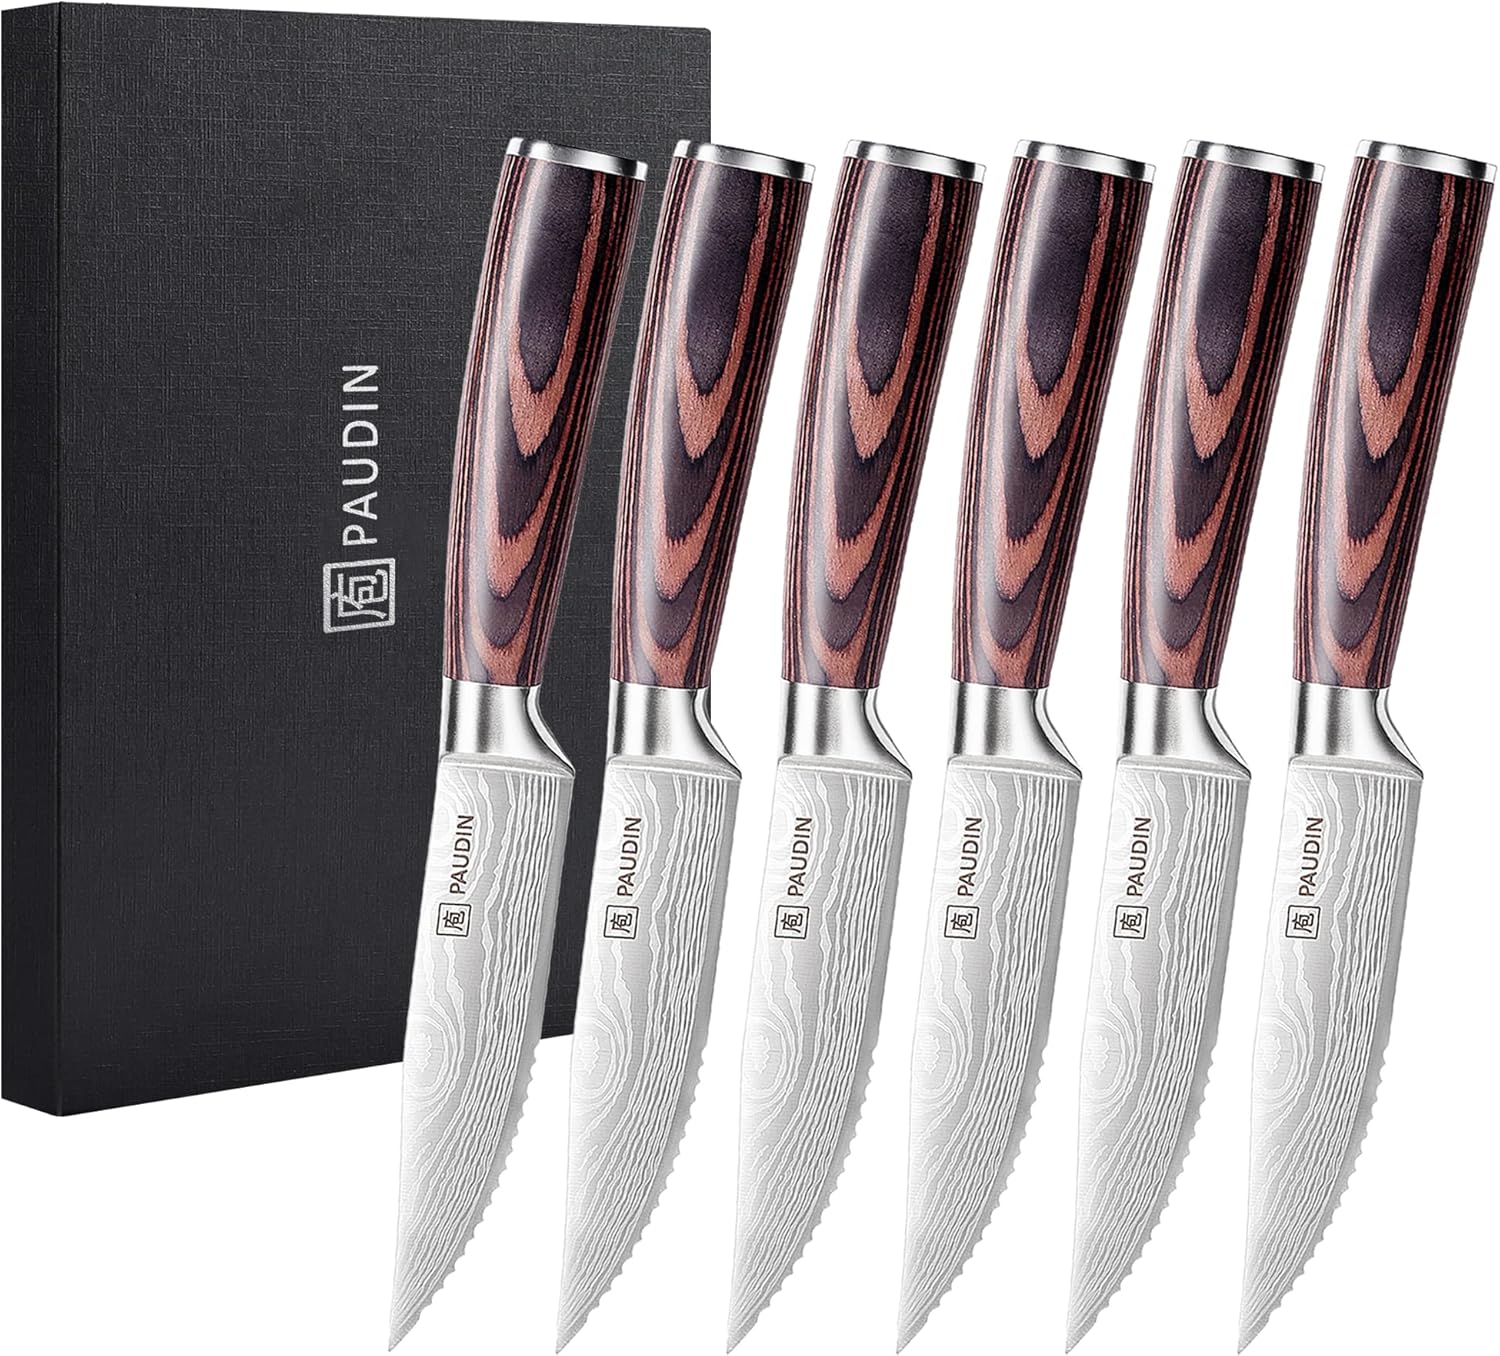
The fascinating thing about serrated knives is that they may last for years without getting honed or sharpened. A chef’s knife could never get away without sharpening.
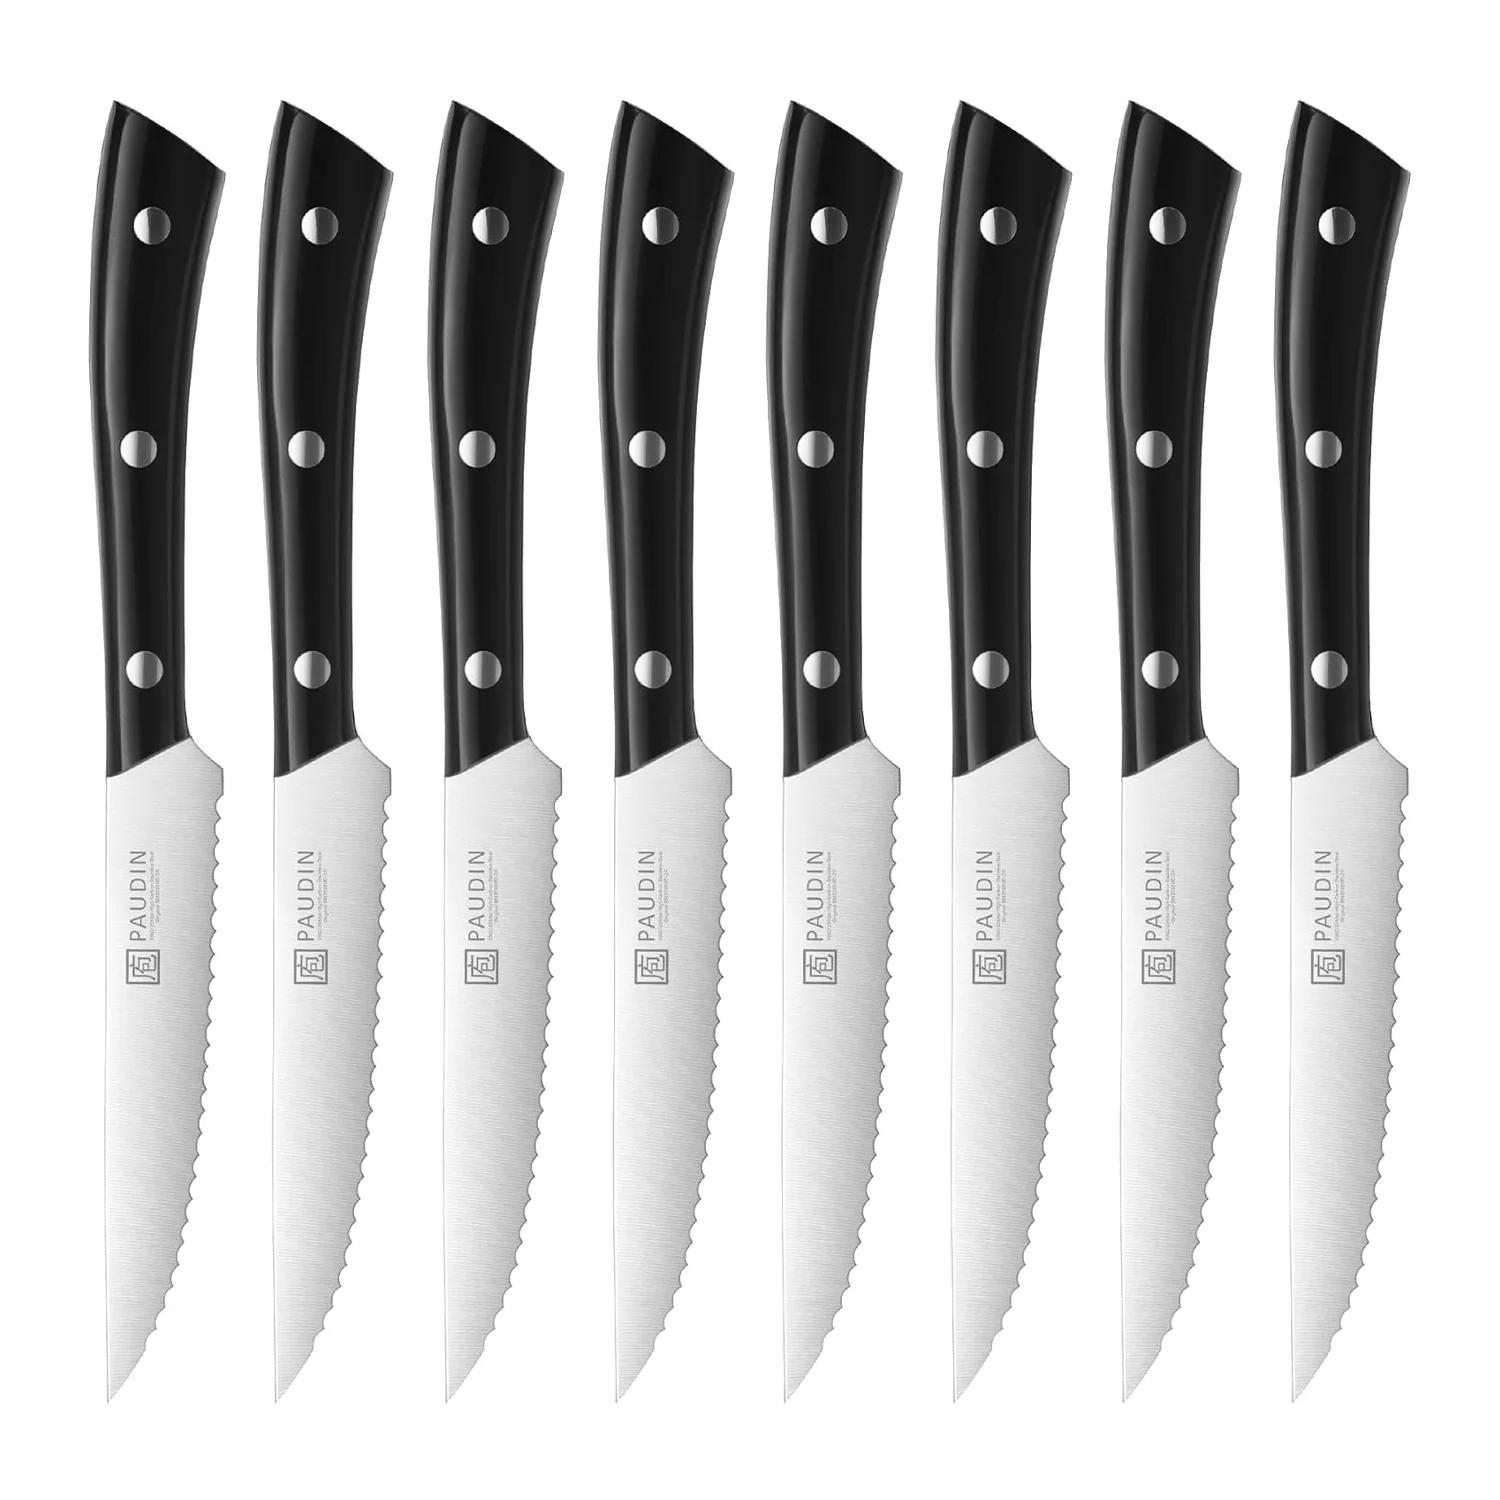
Because of their distinctive shape, serrated knives are able to do the arduous task of slicing through crispy French bread without crushing the delicate center.
This kind of knife is capable of doing that since it differs significantly from other kitchen knives. It has a hand saw-like edge to its blade.
To reach and glide easily into softer interiors, the teeth first grab and then tear through tough exteriors.
If you’ve had a serrated knife for more than a few years, the edge might not be as sharp as it once was. It’s just surprisingly effective.
For cutting things like bread, tomato slices, roast, etc., serrated knives are ideal.
Many knife owners believe there is little they can do once their blades get dull. But that’s not correct.
Knives with serrated edges may be sharpened just as readily as knives with flat blades.
The supplies may even be in your drawer right now.
Do you want to learn how to sharpen a serrated knife? We’ll examine how to sharpen a serrated knife in this article, along with some typical mistakes to keep in mind.
How to Sharpen A Serrated Knife Step-by-step Instructions
It is a good idea to have a clutter-free, clean workplace before beginning.
You can place your knife on a chopping board or a cloth.
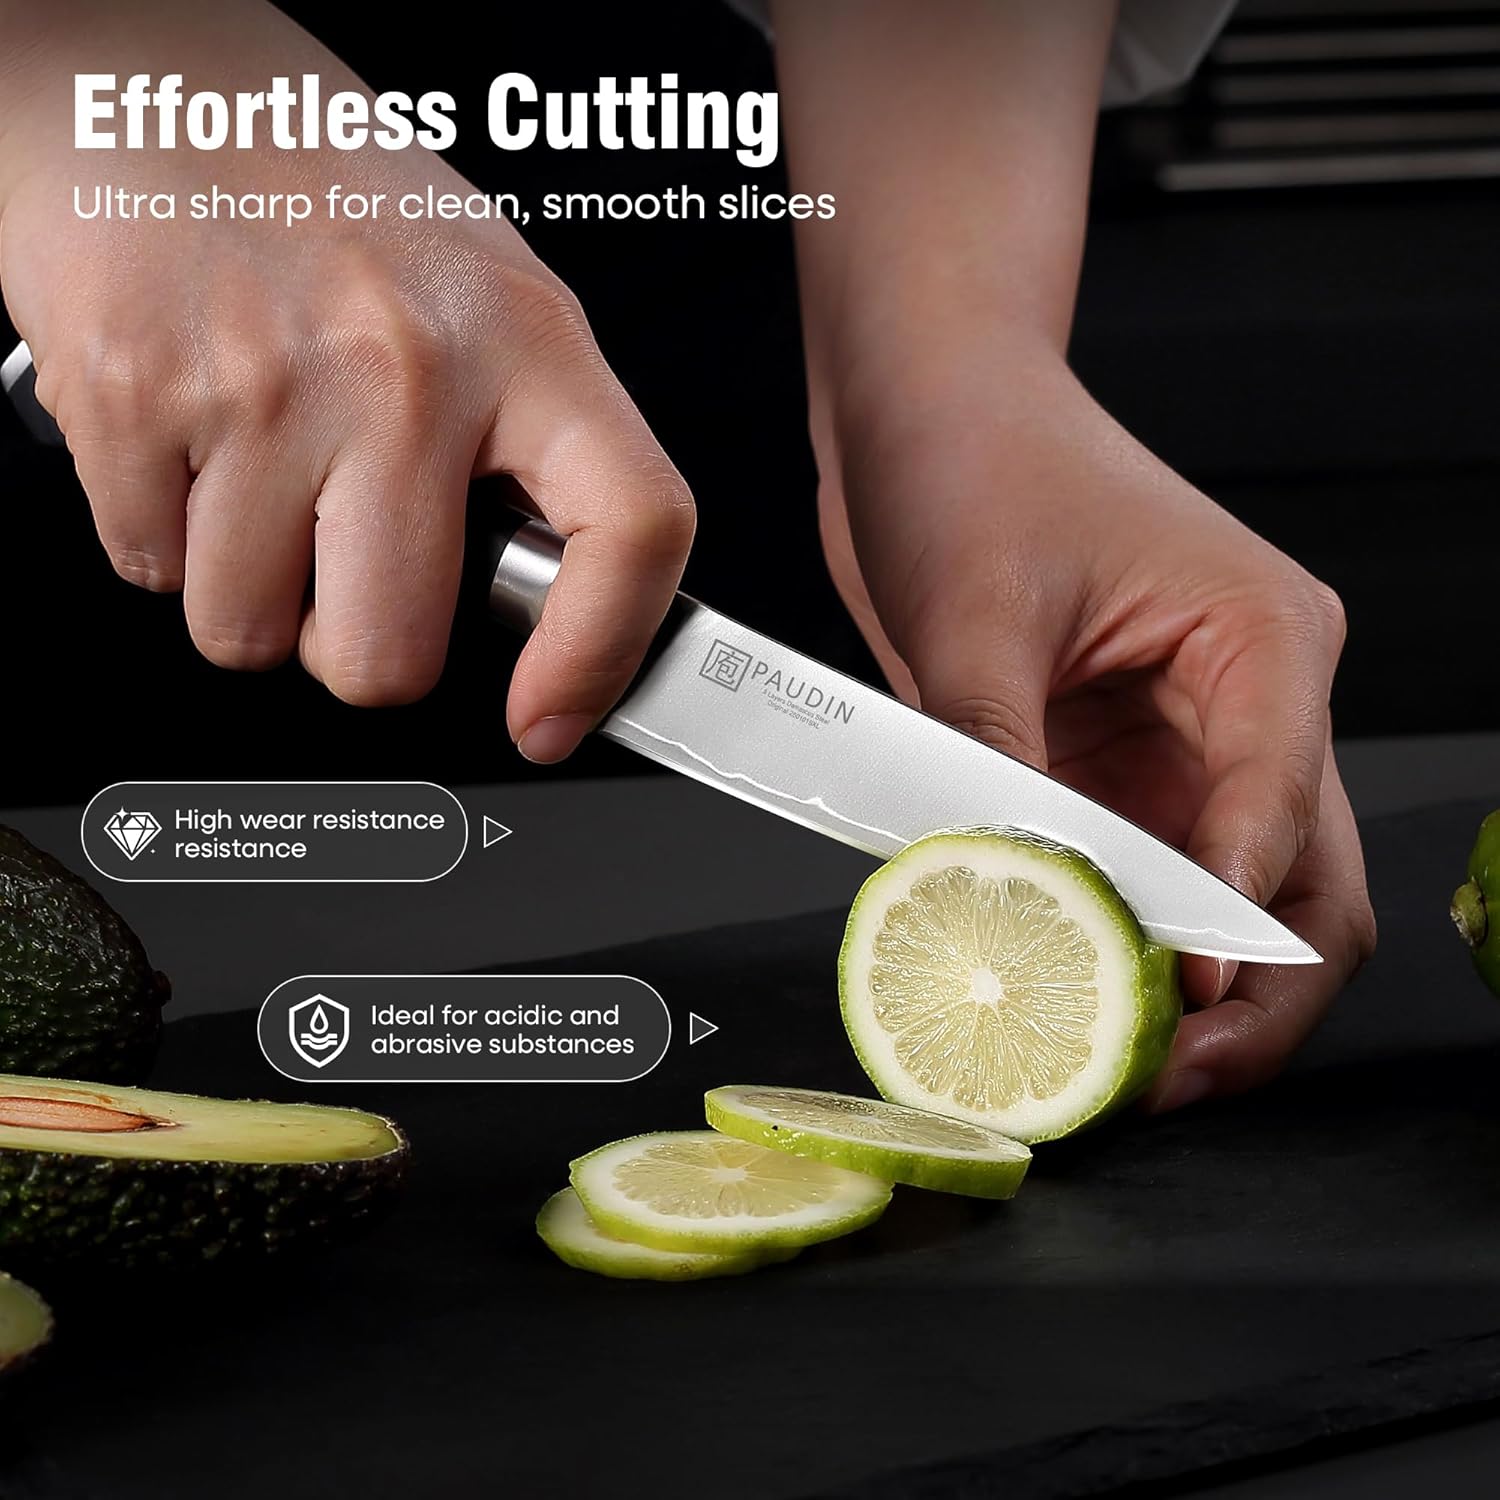
For testing your knife, be sure you have a loaf of bread or veggies on hand.
For safety concerns, you could think about securing your knife in a vice grip so that it won’t slip while being sharpened.
Sharpening will become quicker and simpler as a result of this. In any event, given that you are handling delicate materials, be sure to keep a first aid kit always available.
Consider getting assistance, if you’re dealing with a knife that is particularly big or pointy, to hold the knife stable and prevent any injuries to you or the blade.
Select the appropriate tools
Checking the sharpness is the initial step in discovering how to sharpen a serrated knife.
Inspect the scalloped edge and measure the width of the “gullets” or serrations.
Your need for a specific size of sharpening rod will depend on this.
If your knives have gullets of various sizes, you might require more than one rod.
On the other hand, you’ll likely be able to make use of a single standard rod for a wide range of serrated knives.
Please be aware that serrated knives cannot be sharpened with flat files or edge sharpeners.
Consider purchasing a V-shaped knife sharpening device, which includes rods firmly fastened to a wooden base, if you’re ready to make a little initial investment.
These are excellent for a wide range of knives.
Follow the beveled edge
One of the most important steps when learning how to sharpen a serrated knife is locating a beveled edge.
You should only be sharpening the beveled side of the knife, just as with a regular flat-edged knife.
Check for the side with the most pronounced serrations to identify the beveled edge.
It ought to resemble a little scallop with flat edges on either side.
The serrations should barely be seen on the reverse, making it look perfectly flat.
You may start pulling the sharpening steel across after you’ve located the beveled edge.
Identify the ideal sharpening angle
Although theoretically simple, positioning the knife and the sharpening steel can be challenging.
Having a vice grip on hand to grasp the knife while you drag the iron across is an excellent idea.
You may also clamp the iron down (as in a v-sharpener) and draw the knife through that way if it is more convenient for you.
Whatever you choose to do, make sure to maintain the correct angle to prevent damaging the serrations.
Follow the gullet’s basic angle, which ranges from 10 to 30 degrees.
Let’s say you’re having trouble identifying the proper angle.
In that situation, clamping the knife and pulling the rod up and down could be simpler.
Remove burrs and test
You’ll see little metal specks on the blade’s back while it is being sharpened.
These are known as burrs, and like wood shavings in woodworking, they are proof that the blade has had metal removed from it.
It’s a good idea to check occasionally for burrs to determine how much metal you’re putting out.
If you experience a lot of burrs, your blade may be getting damaged.
When you’re finished sharpening and are happy with the results, you may apply a file to get rid of these burrs and produce a flawless, smooth experience.
Finally, keep a piece of bread or vegetables close by for testing your knife.
Clean it off and start over if you believe you can make it better.
It’s best to go steadily and gently.


