

Do you want to master the julienne cut technique?
We are aware that the flawless small matchsticks used as toppings, side dishes, and garnishes are so frightening that anybody would assume this craft requires years of training in the kitchen to accomplish.
This multipurpose julienne cut isn’t as challenging as it might sound, though.
Additionally, learning how to julienne cut your fruits, veggies, and meat can significantly improve your culinary abilities.
This cut not only enhances the appearance of any dish in which it is used but also enables thorough and uniform cooking for a wonderful food experience each time.
What exactly is julienne cut?
The julienne cut often referred to as the allumette or french cut, is a flexible knife technique that enables the creation of small, thin strips of meat, fruits, and veggies that resemble precisely finely sliced matchsticks.
The strips are around 3 inches long and 1/16 to 1/8 inches thick.
The matchstick cut, or allumette, which means matchstick, is another name for the julienne cut. Among other fruits and vegetables, it is primarily used with carrots, apples, and even onions.
This cut is used in stir-fries, salads, burgers, and wraps to provide flavor and visual appeal.
After the batonnet cut, which has 1/4 inch thickly sliced goods, these strip cuts are the smallest of all knife cuts used in the cooking profession.
Finer and more exact slices provide the ideal crunch in fruits and vegetables while enabling consistent cooking each time.
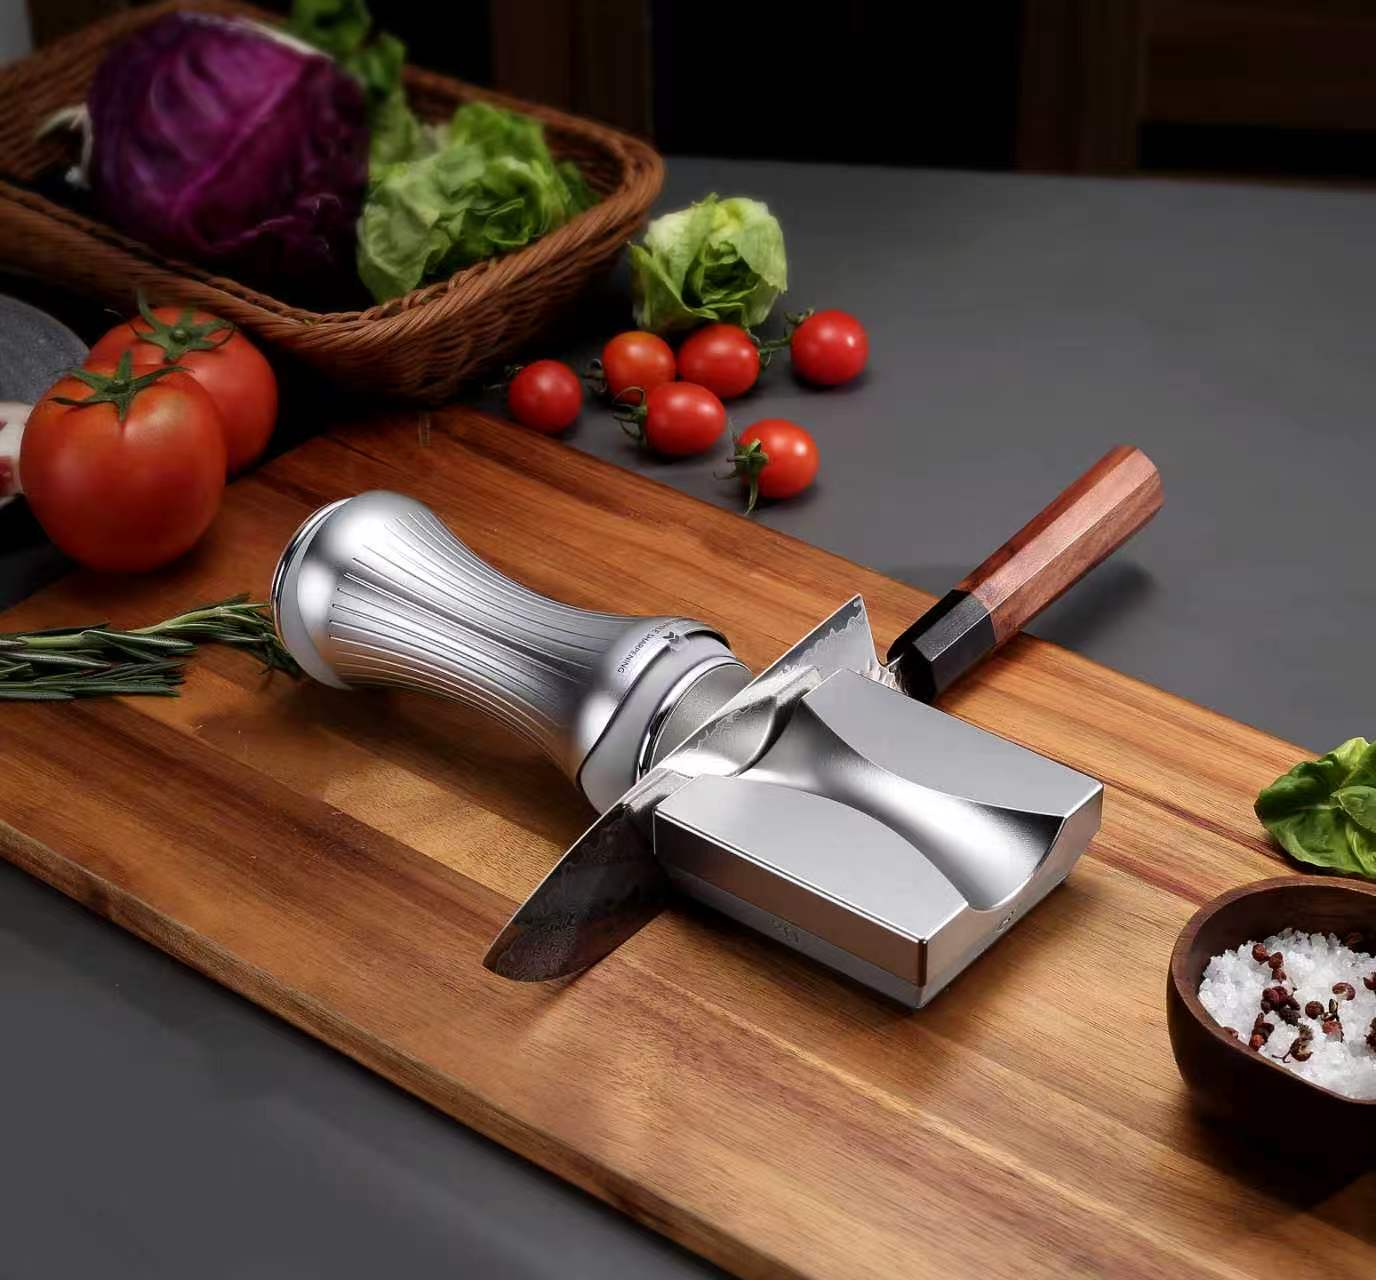
Equipment required for a julienne cut
Several instruments can be used to make a julienne cut.
Long-term, however, knowing how to wield a knife can help you avoid using specialized appliances like julienne peelers, and even food processors.
To do the julienne cut you will need the following equipment:
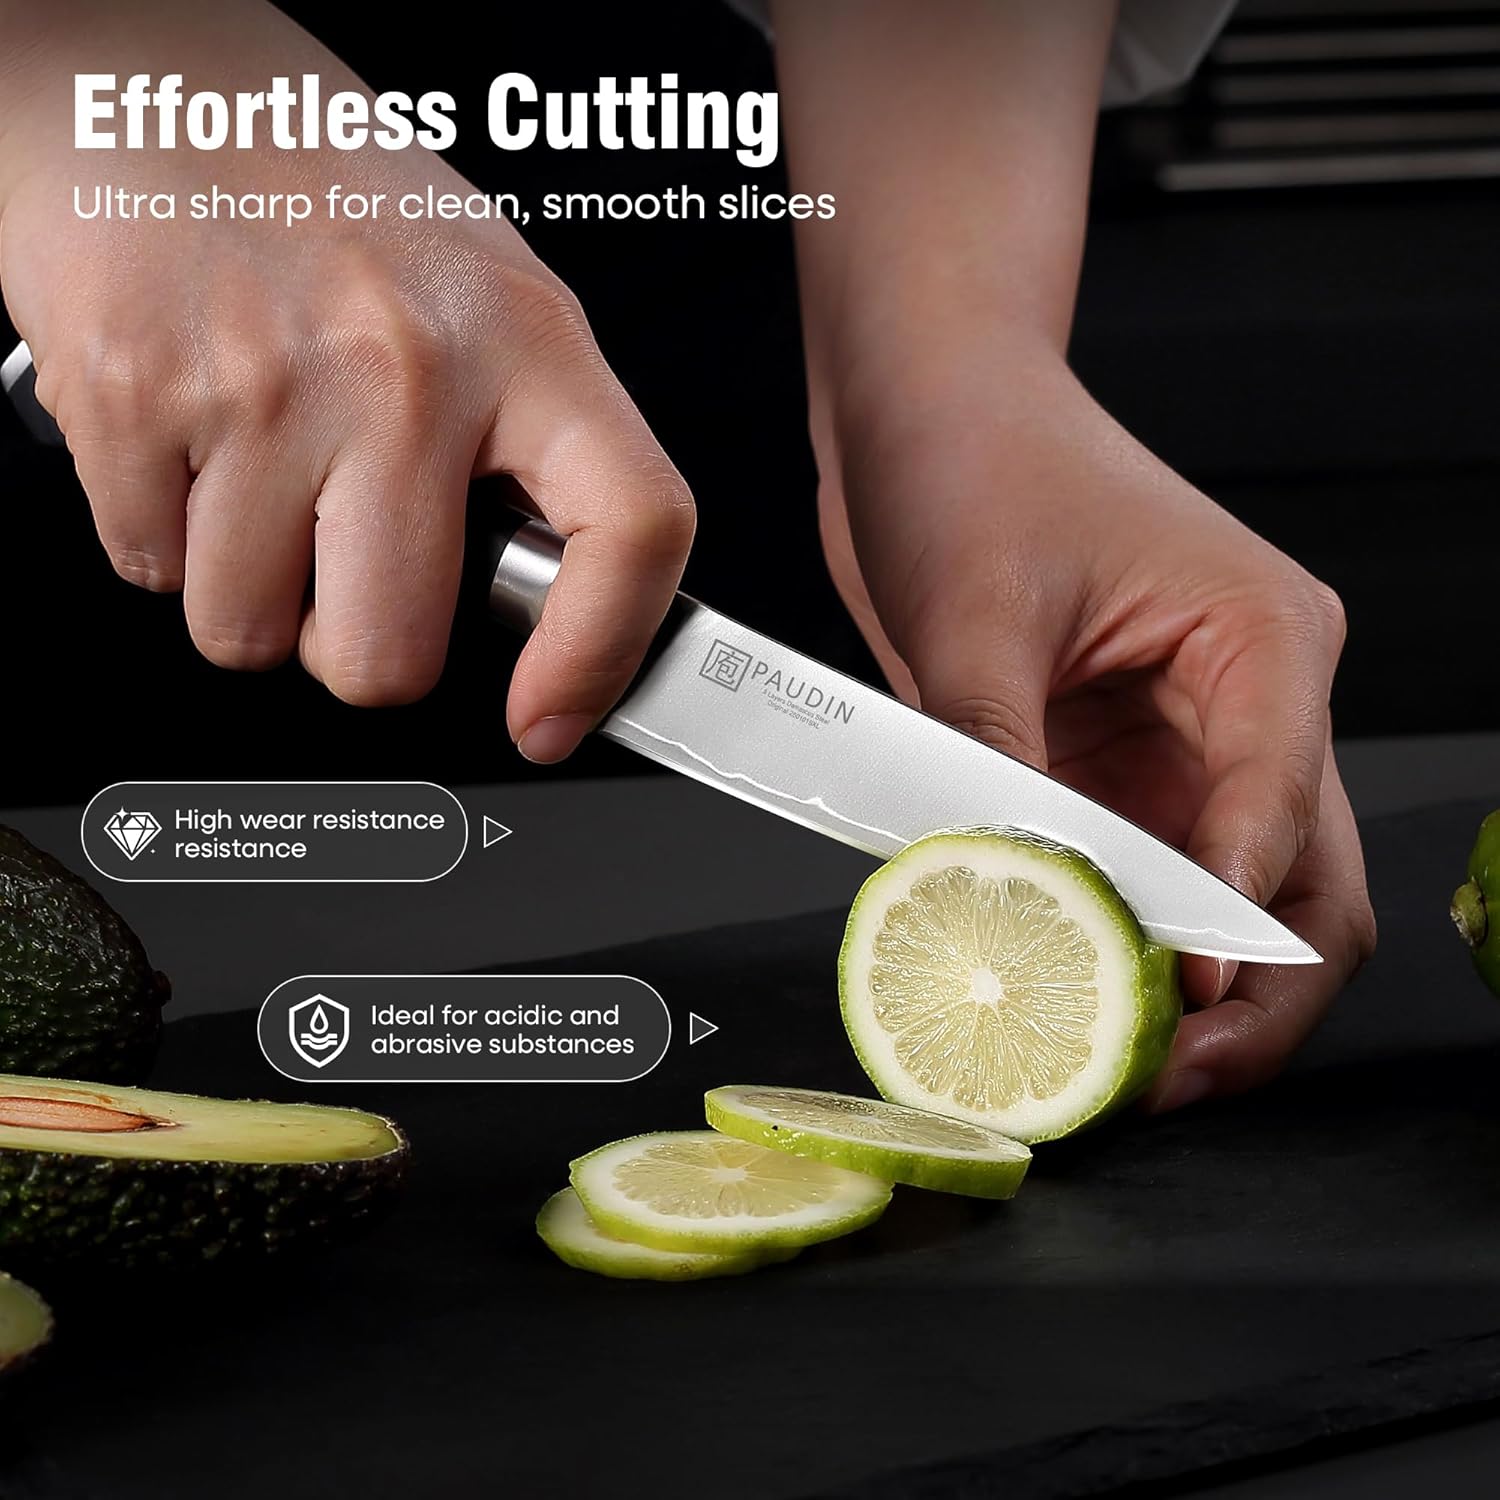
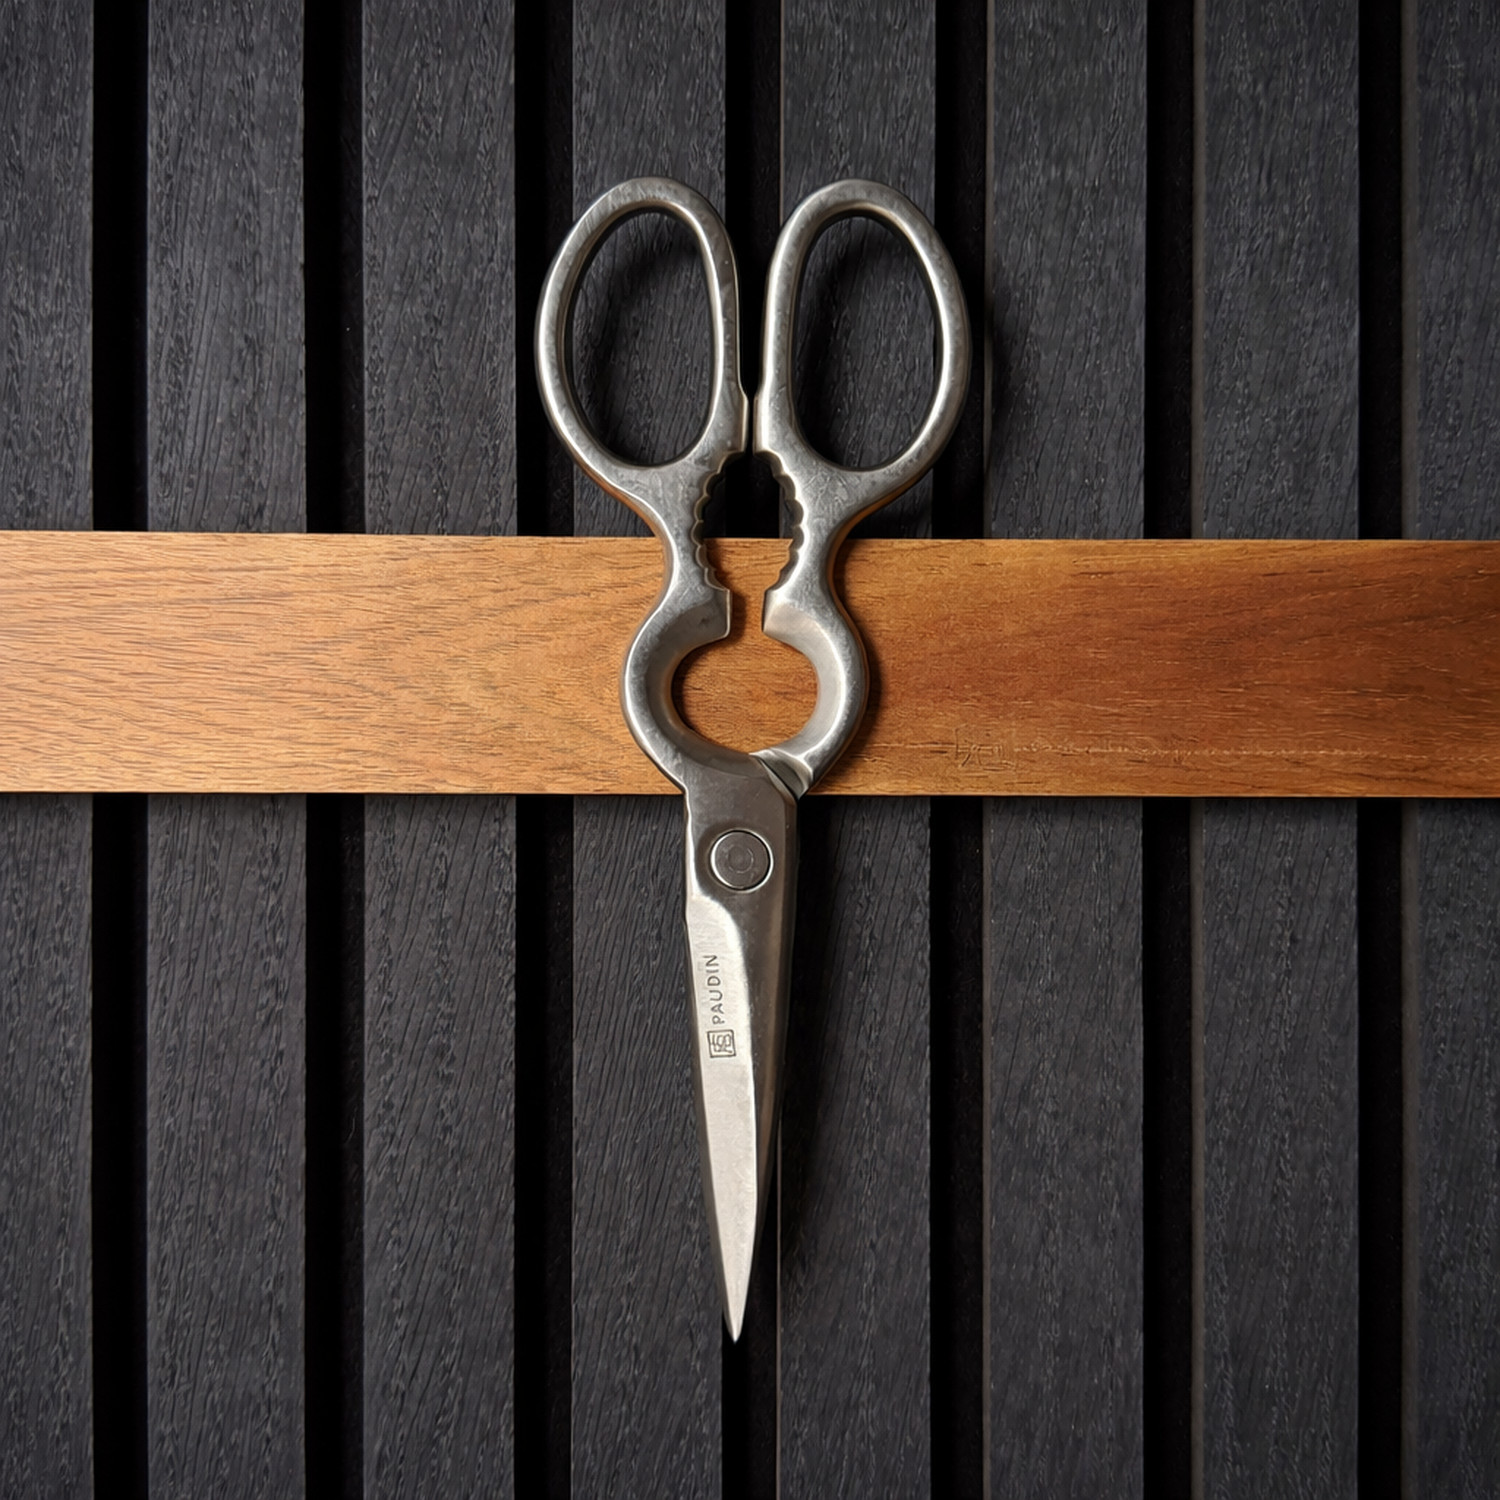
– Perfect, delicate slicing demands a sharp knife for consistent, accurate results. Before you start julienne cutting your vegetables, check the sharpness of your knife.
– A cutting board is perfect for such delicate slicing because of its self-healing qualities and resistance to bacterial penetration brought on by its smooth and firm surfaces.
– Of course, certain fruits, vegetables, or meat will be needed to practice julienne cut.
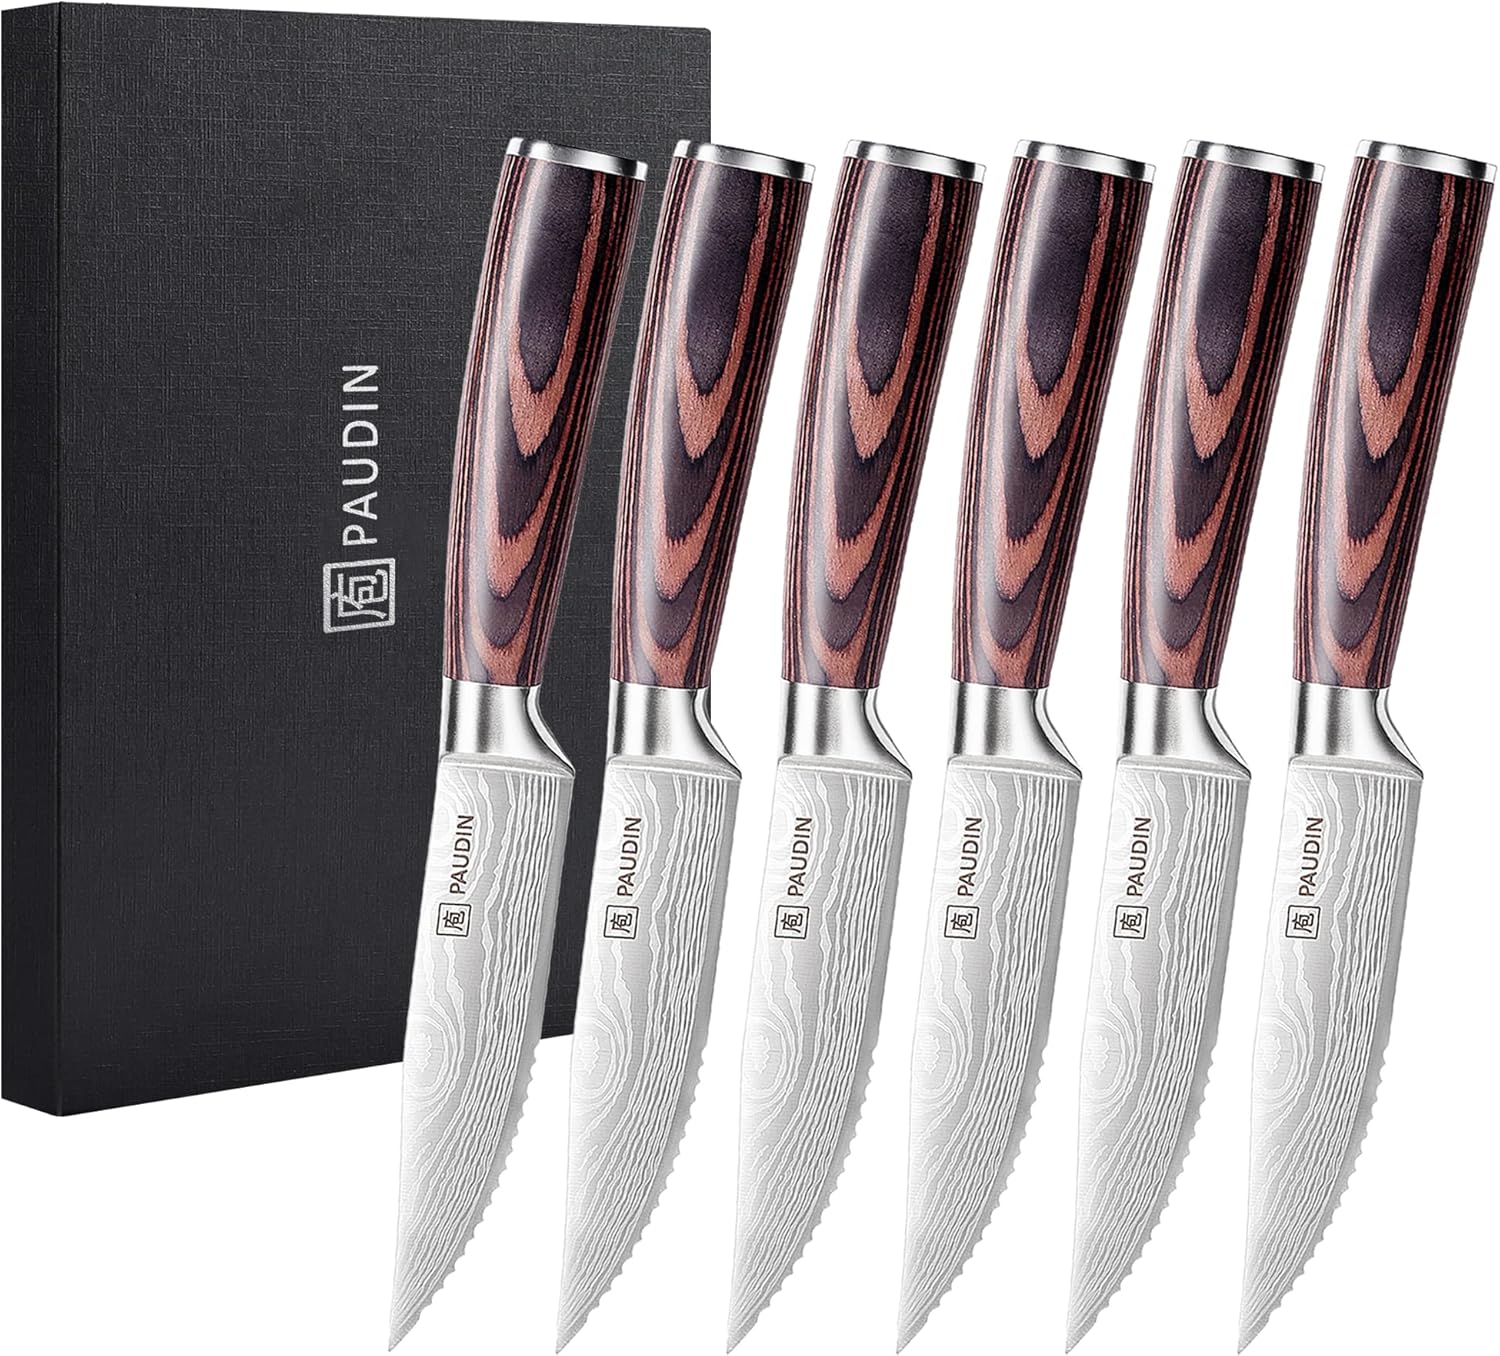
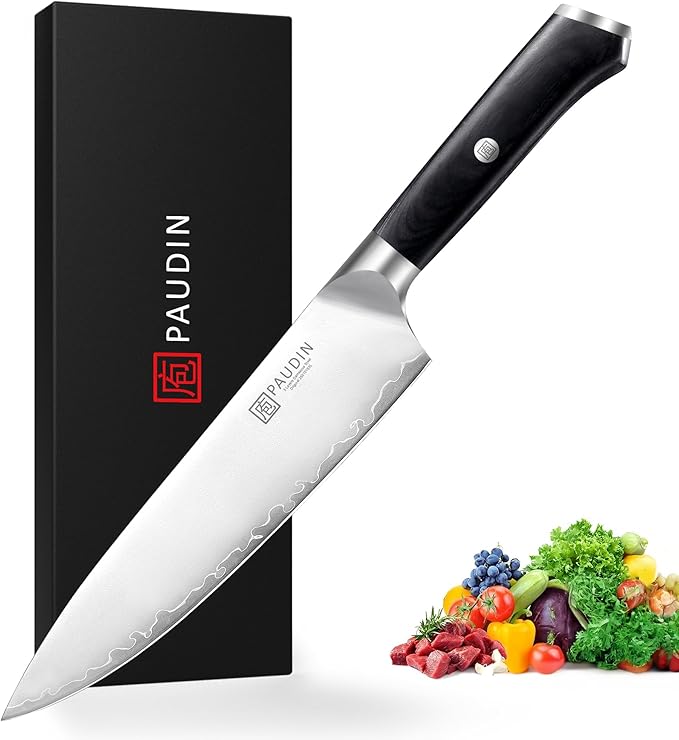
Ideal knives for a julienne cut
Three types of knives are used exclusively by chefs to julienne cut their foods.
The utility knife, santoku knife, and chef’s knife.
The chef’s knife, which has a blade that is 8 to 10 inches long and is useful for cutting any food that comes its way, is the most often used of the three knives. It is an all-arounder for chopping and cutting thanks to its gently curved double-beveled cutting edge.
The Santoku knife is the next tool that works well for julienne cuts. Santoku knives don’t have the same durability as chef’s knives, but because of their sole bevel and flat cutting edge, they can make smaller slices.
Last but not least, utility knives work well for julienne cuts as well, particularly for smaller veggies and fruits like apples and potatoes. This is due to the knife’s medium size, which makes it ideal for smaller items. Its blade is 4 to 7 inches in length.
How to julienne cut veggies
You may chop your fruits and veggies into julienne in two different methods.
There is a conventional, accurate way to make a julienne cut.
For situations where you lack the time or the will to squander your produce on completing those cuts, there is also a quick way of julienne cutting.
How to master classic julienne cut
For a classic julienne cut, follow the techniques listed below.
Carrots will be used as an example to demonstrate how to use the julienne cut:
Placing the carrot in your non-dominant hand, place the knife in your dominant one.
Peel the carrot first using a knife or a vegetable peeler. This step is not required.
Cut the carrot in half, between the stem and the root.
Next, make the cuts to your carrot, creating pieces that are 2-3 inches long. Produce that is still unfinished after being divided into equal segments can be preserved or used in salads.
Hold the carrot between your fingertips, bending them so that they are aligned with the knife. Your fingers will avoid being sliced if you do this.
Start cutting the rounded ends of each carrot part one at a time to produce flatter sides. You’ll be able to make rectangular forms by doing this.
The next step is to divide each rectangular portion into planks by cutting it lengthwise. You need to cut between 1/16 and 1/8 inches in thickness.
After stacking several of the planks up, cut them lengthwise once more to complete the julienne cut. The thickness, which will remain constant, will be 1/16 to 1/8 inches thick. Carrot matchsticks that have been sliced consistently are now ready for use.


